이전 포스팅
2022.10.21 - [개발/ReactNative] - [ReactNative] expo 메모장 앱만들기 (1)
2022.10.23 - [개발/ReactNative] - [ReactNative] expo 메모장 앱만들기 (2)
이전에는 데이터 저장 / 불러오기, useEffect를 활용하여 데이터 불러오기까지 구현하였다.
이번 시간은 메모장을 리스트 형태로 제작하는 방법을 배워보겠다.
기존에 있던 코드에서 추가해주며 진행 해주겠다.
1. 리스트 뷰와 작성글 뷰 분리하기
App.js
useState로 writeMode 의 여부를 표시할 state를 선언해 주었고 return 문을 두 가지로 나누어서 분기시켜주었다.
writeMode가 true 이면 글쓰기 화면이 보이고, false 이면 리스트가 보인다.
const [writeMode , setWriteMode ] = useState(false);
..../
//writeMode 가 false 이면 리스트가 나옴 true이면 글쓰기 영역
if(writeMode === false) {
return (
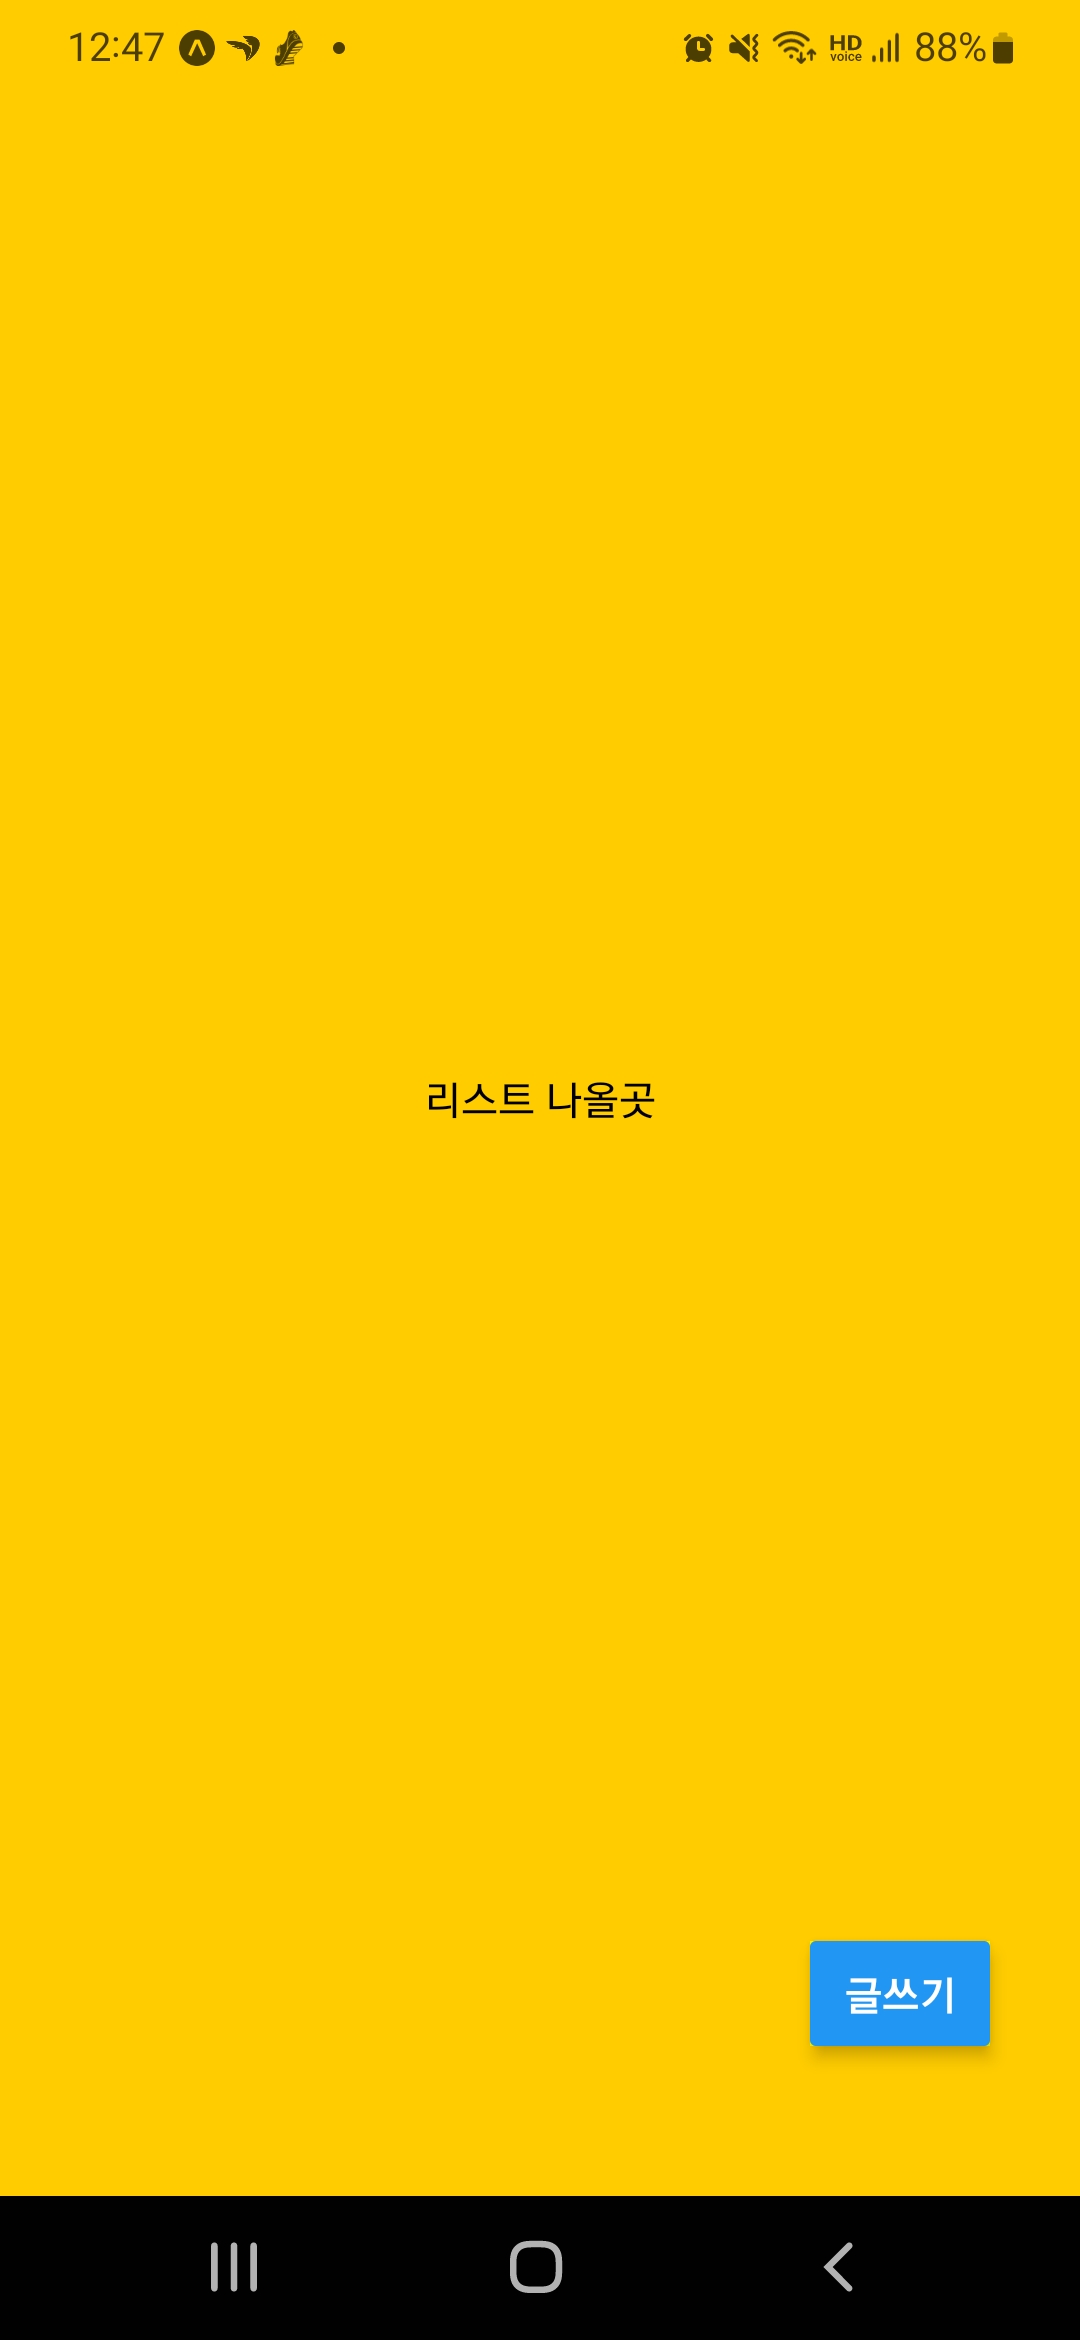
<View style={{flex : 1, justifyContent :'center', backgroundColor : '9c0' , alignItems : 'center'}}>
<Text>리스트 나올곳</Text>
{/* <StatusBar style='auto'></StatusBar> */}
</View>
);
} else {
return (
<View style={{flex : 1, backgroundColor :'#fc0'}}>
<SafeAreaView style={{flex: 1, }}>
{/* <StatusBar style='auto'/> */}
<View style={{padding : 20, flexDirection : 'row', alignItems : 'center', justifyContent : 'space-between'}}>
<Button title="저장" onPress={() => saveData(txt)}></Button>
<Text style={{textAlign : 'center' , fontSize : 18}}>메모장</Text>
<Button title="불러오기" onPress={() => loadData()}></Button>
</View>
<View style={{backgroundColor : '#eeeeee', flex :1, padding : 20}}>
<TextInput
value={txt}
onChangeText={ txt => setTxt(txt)}
// 줄바꿈 가능
multiline
></TextInput>
</View>
</SafeAreaView>
</View>
);
}
2. 글쓰기 리스트로 가기 버튼 만들기
위쪽 writeMode === false 일 때는 글쓰기를 누르면 writeMode를 true로 바꾸는 버튼을 만들어 주었다.
 if(writeMode === false) {
  return (
    <View style={{flex : 1, justifyContent :'center', backgroundColor : '9c0' , alignItems : 'center'}}>
      <Text>리스트 나올곳</Text>
      <View style={{position : 'absolute', right : 30, bottom : 50, width : 60 , backgroundColor : 'yellow'}}>
        <Button title="글쓰기" onPress={() => setWriteMode(true)}></Button>
      </View>
      {/* <StatusBar style='auto'></StatusBar> */}
    </View>
  );
아래쪽 return 에는 리스트 보기 버튼을 추가하여 주었다.
} else {
  return (
    <View style={{flex : 1, backgroundColor :'#fc0'}}>
    <SafeAreaView style={{flex: 1,  }}>
      {/* <StatusBar style='auto'/> */}
      //...생략


      //리스트 보기 버튼 추가
      <View style={{position : 'absolute', right : 30, bottom : 50, width : 80 , backgroundColor : 'yellow'}}>
        <Button title="리스트보기" onPress={() => setWriteMode(false)}></Button>
      </View>
    </SafeAreaView>
    </View>
  );
  }
실행화면
버튼을 클릭하면 리스트 나올 화면과 , 글쓰기 화면이 잘 교차하며 작동하는 것을 볼 수 있다.

3. 메모를 리스트 형태로 만들기
FlatList 형태로 작성하면 리스트 형태로 보이게 된다.
https://docs.expo.dev/versions/latest/react-native/flatlist/
FlatList - Expo Documentation
Expo is an open-source platform for making universal native apps for Android, iOS, and the web with JavaScript and React.
docs.expo.dev
expo 문서에도 잘 설명이 되어있다.
아래 예제와 같이 DATA를 만들고 FlatList를 사용하면, 데이터를 리스트 타입으로 불러올 수 있다.
const DATA = [
  {
    id: 'bd7acbea-c1b1-46c2-aed5-3ad53abb28ba',
    title: 'First Item',
  },
  {
    id: '3ac68afc-c605-48d3-a4f8-fbd91aa97f63',
    title: 'Second Item',
  },
  {
    id: '58694a0f-3da1-471f-bd96-145571e29d72',
    title: 'Third Item',
  },
];

  <SafeAreaView style={styles.container}>
      <FlatList
        data={DATA}
        renderItem={renderItem}
        keyExtractor={item => item.id}
        extraData={selectedId}
      />
    </SafeAreaView>
코드에 적용하기
다음과 같이 배열 객체 형태를 만들어 준다.
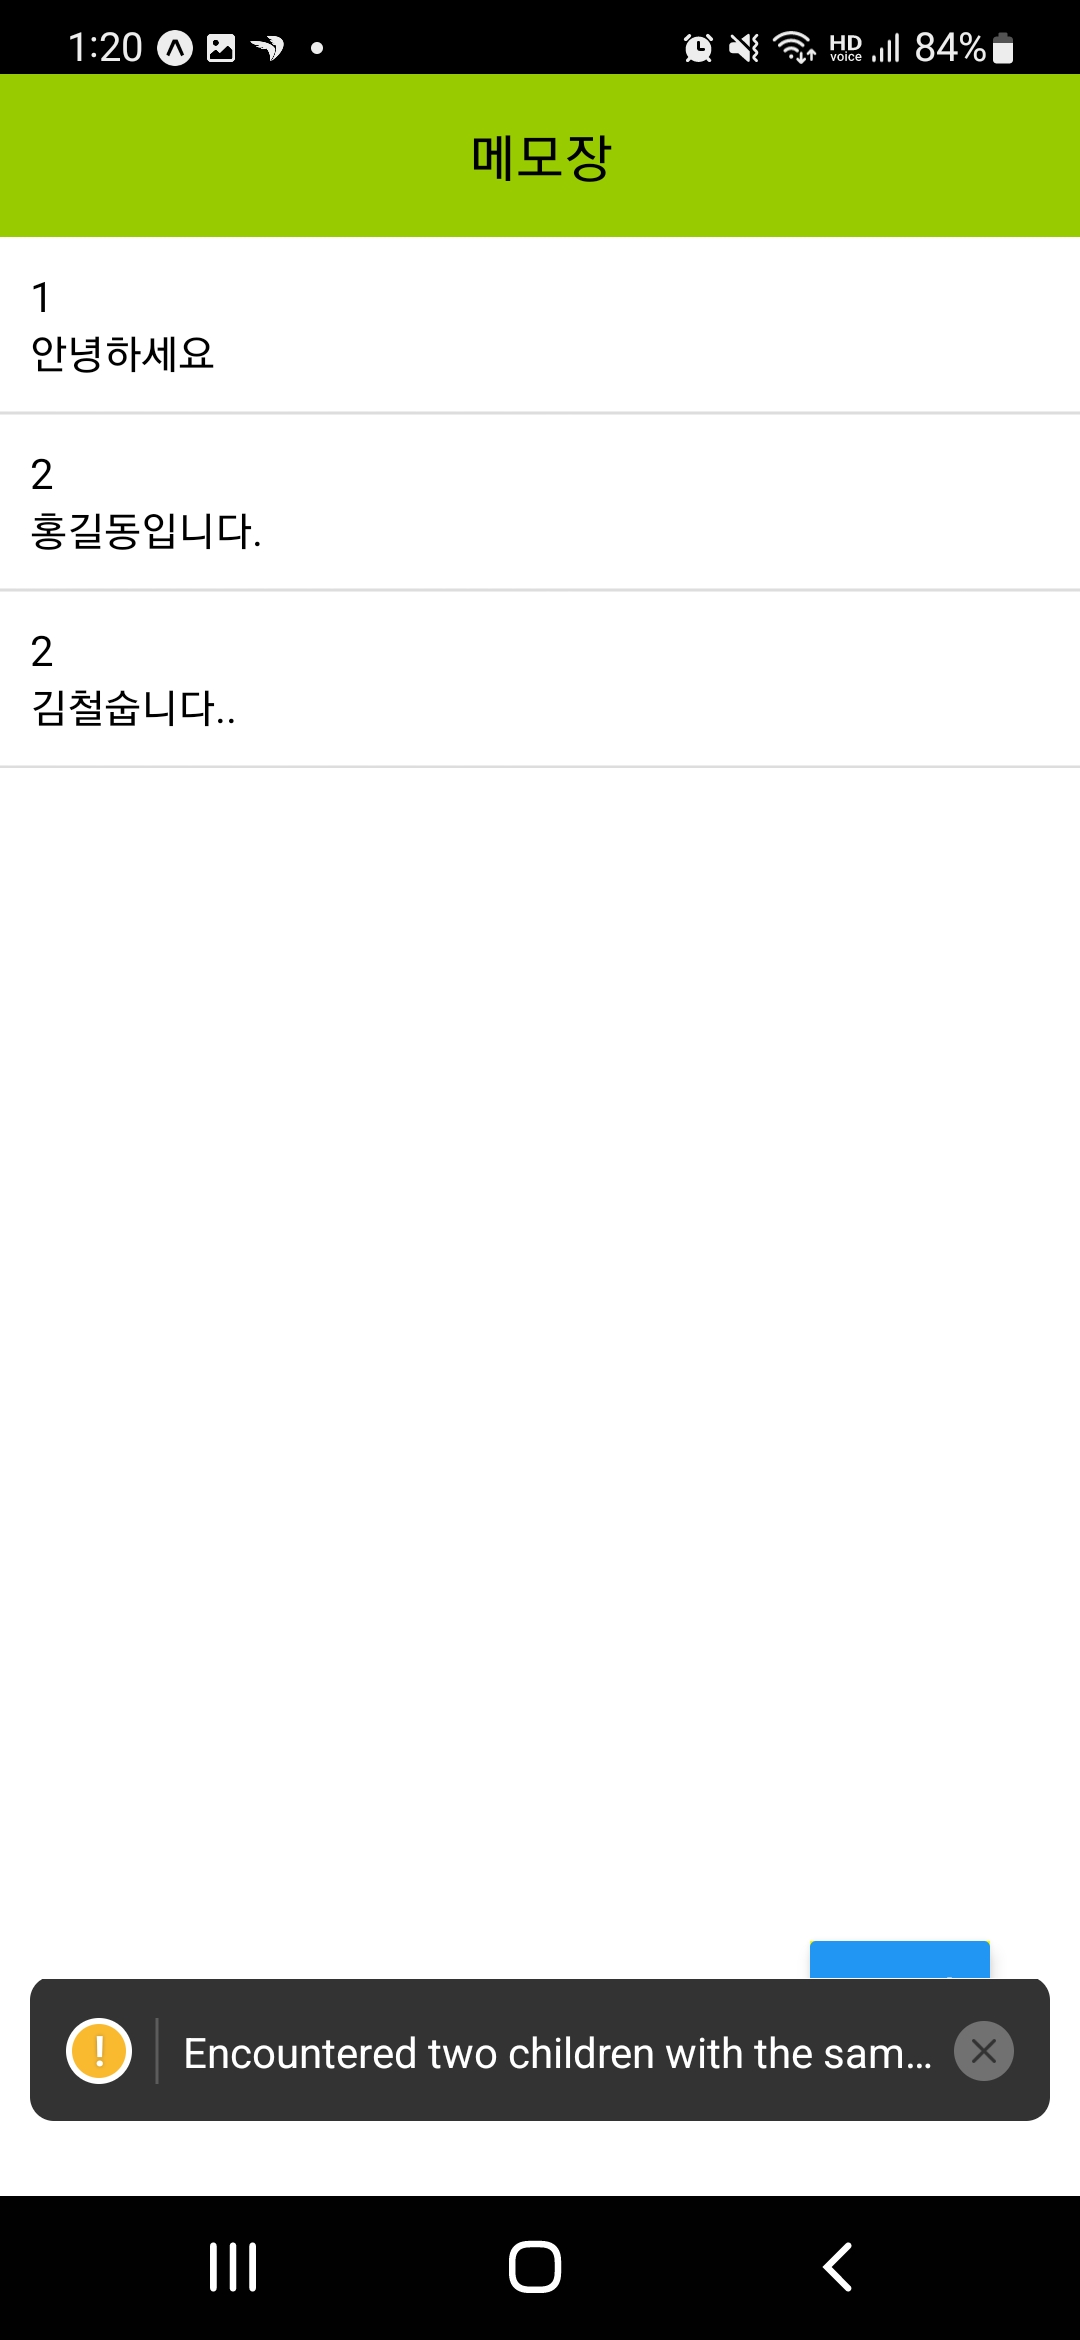
  const memoList = [
    {id : 1, text : '안녕하세요'},
    {id : 2, text : '홍길동입니다.'},
  ]
다음과 같은 형태로 생성한 배열 리스트를 data 속성에 넣어주고 renderItem이라는 함수를 정의한다.
 <FlatList
 	data={memoList}
    renderItem={renderMemo}
    style={{flex : 1}}/>
renderItem에 정의된 renderMemo라는 함수는 data속성에 연결된 momoList의 값을 받아 화면에 여러 번 뿌려주게 된다.
 const renderMemo = ({item}) => {
    return (
      <View style={{padding : 10, borderBottomColor : "#ddd" , borderBottomWidth : 1}}>
        <Text>{item.id}</Text>
        <Text>{item.text}</Text>
      </View>
    )
  }
현재까지 구현된 화면
4. 글 저장하기 기능 만들기
글쓰기 영역에 원래 만들었던 저장과 불러오기 버튼을 주석하고 글 저장이라는 새로운 버튼을 만들고 addMemo()라는 함수를 onPress 속성에 연결해준다.
 //글쓰기 영역
  } else {
  return (
    <View style={{flex : 1, backgroundColor :'#fc0'}}>
    <SafeAreaView style={{flex: 1,  }}>
      {/* <StatusBar style='auto'/> */}
      <View style={{padding : 20, flexDirection : 'row', alignItems : 'center', justifyContent : 'space-between'}}>
        <Button title="글 저장" onPress={() => addMemo()} ></Button>
        {/* <Button title="임시저장" onPress={() => saveData(txt)}></Button> */}
        <Text style={{textAlign : 'center' , fontSize : 18}}>메모장</Text>
        {/* <Button title="불러오기" onPress={() => loadData()}></Button> */}
      </View>
      <View style={{backgroundColor : '#eeeeee', flex :1, padding : 20}}>
        <TextInput
        value={txt}
        onChangeText={ txt => setTxt(txt)}
        // 줄바꿈 가능
        multiline

        ></TextInput>
      </View>
      <View style={{position : 'absolute', right : 30, bottom : 50, width : 80 , backgroundColor : 'yellow'}}>
        <Button title="리스트보기" onPress={() => setWriteMode(false)}></Button>
      </View>
    </SafeAreaView>
    </View>
  );
  }
5. 글쓰기 기능과 글 작성 후 리스트에 연결하기
아까 작성하였던 메모 리스트를 momos라는 state의 초기값으로 담아준다.
그리고 번호를 만들 idx를 생성해준다. momoList에는 이미 3개의 아이디 값이 있으니 4번부터 시작해준다.
 const memoList = [
    {"id" : 1, "text" : '안녕하세요'},
    {"id" : 2, "text" : '홍길동입니다.'},
    {"id" : 3, "text" : '김철숩니다..!!!!!!!!!!!!!!!!!!!!!! \n안녕하세요'}
  ]

  const [ momos, setMemos ] = useState(memoList);
  const [ idx , setIdx ] = useState(4);
addMomo 함수를 다음과 같이 작성한다.
const addMemo = () => {
    console.log(txt);

    const obj = { "id" : idx, "text" : txt};
    setMemos(prev => [...prev,obj]);
    //글쓰기 모드 변경
    setWriteMode(false);

    setIdx(prev => prev + 1);
    //alert 사용하기
    // Alert.alert(txt);
  }
코드를 설명해보면 obj라는 객체를 만든다. id라는 키값에 idx 아까 만든 state를 넣어주고, 사용자가 쓰는 메모장의 텍스트를 "text"라는 키값으로 담아준다.
그리고 아까 위에서 memos라는 state에 새로 만들어진 객체를 prev를 사용하면 기존 객체 + 새로운 객체로 합칠 수 있다.
글을 다 쓰고 저장을 눌렀으니 글쓰기 모드를 해제해주고
idx의 state값을 하나 더 올려준다.
실행화면

기본 화면에서 글쓰기를 누른다.
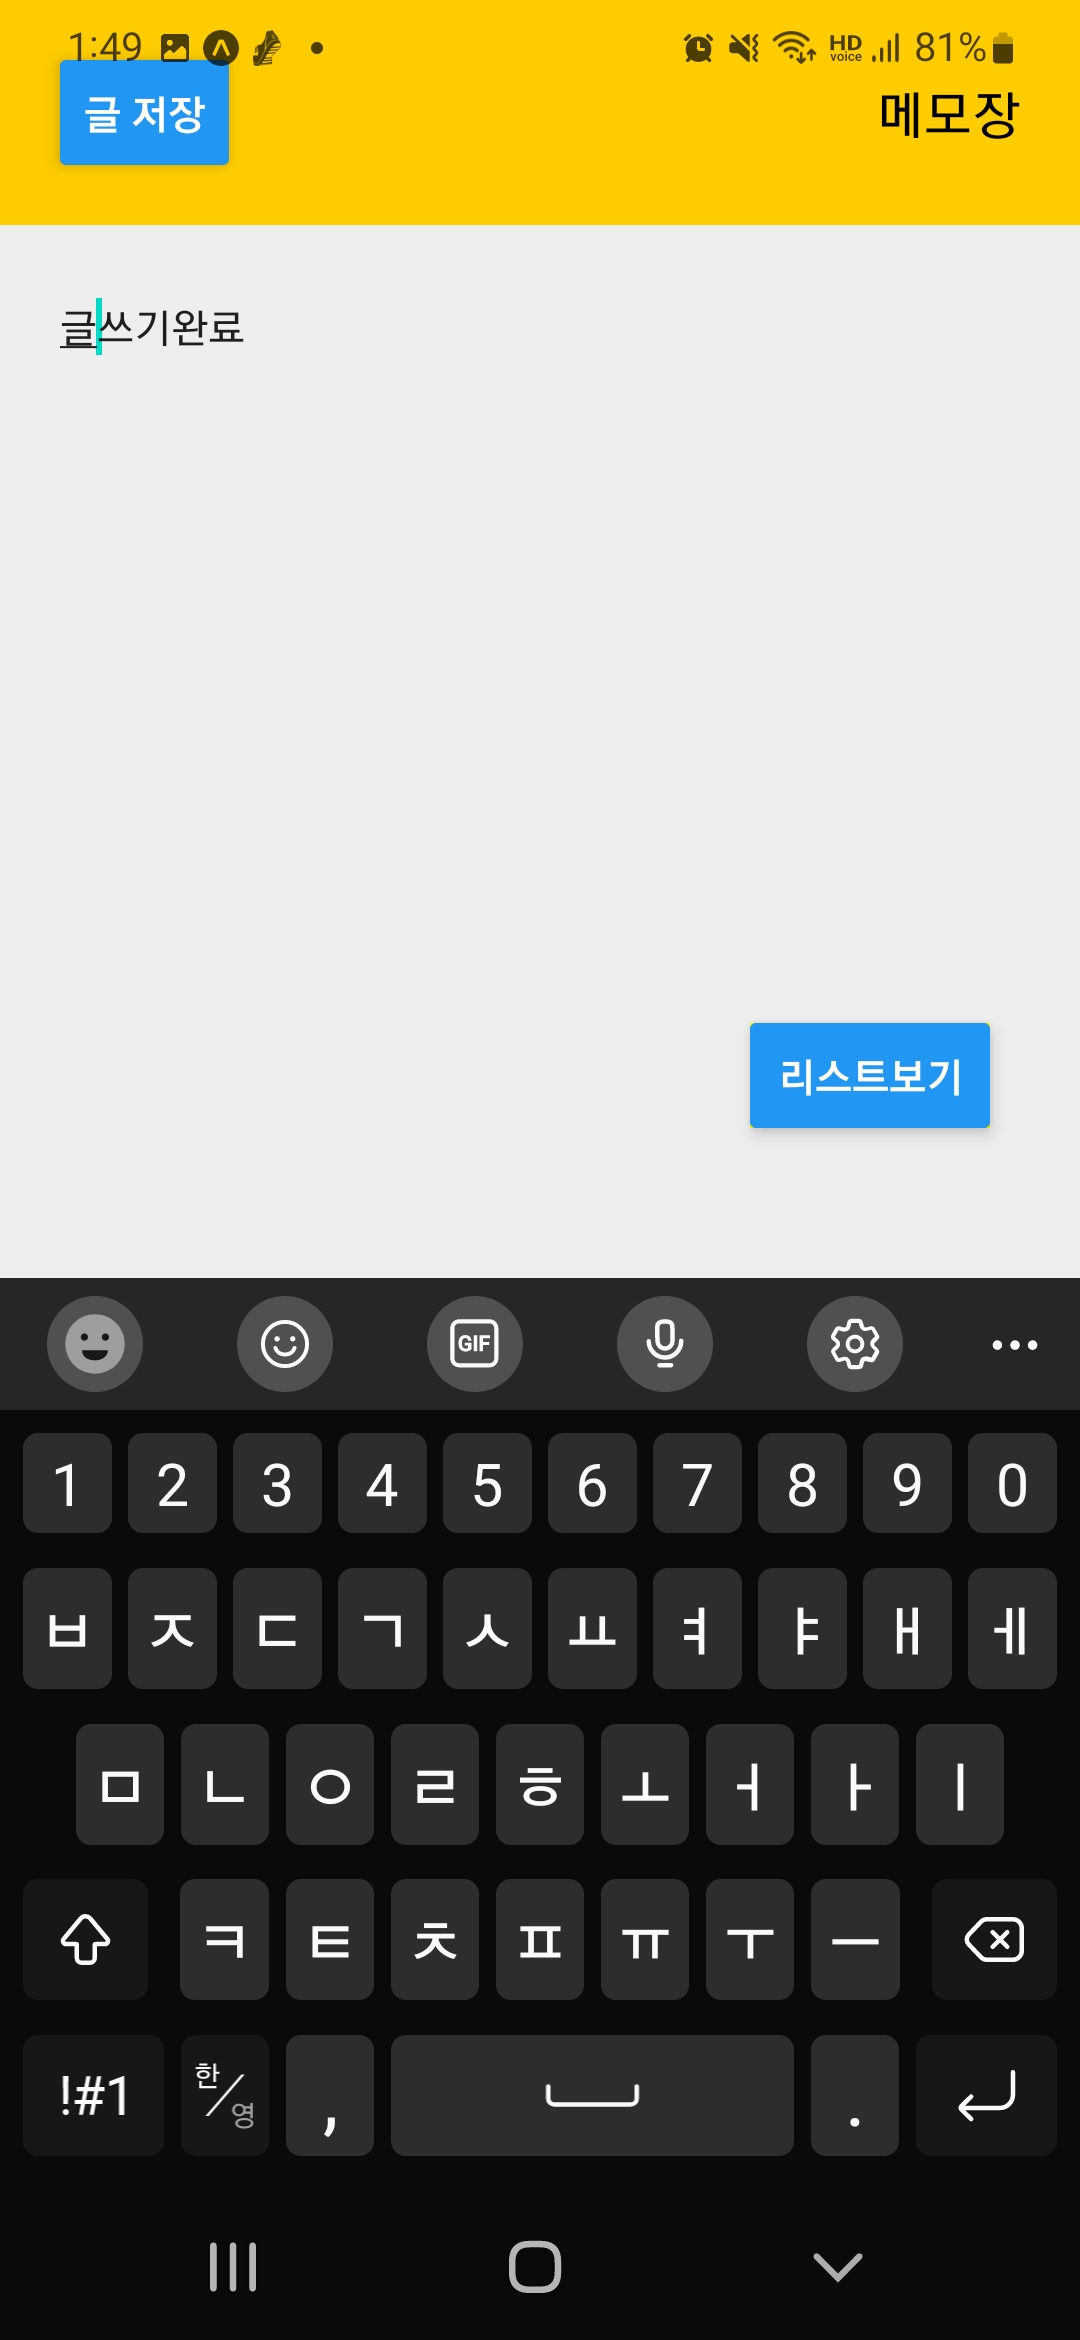
글 작성 후 글 저장을 누른다.

리스트에 추가된 것을 확인할 수 있다.
전체 코드
import React , { useState, useEffect } from 'react';
import { StatusBar } from 'expo-status-bar';
import { StyleSheet, Text, View, SafeAreaView , Button, TextInput, FlatList , Alert} from 'react-native';
import AsyncStorage from '@react-native-async-storage/async-storage';

export default function App() {

  const [ txt , setTxt ] = useState("안녕하세요. ");
  const [writeMode , setWriteMode ] = useState(false);

  const memoList = [
    {"id" : 1, "text" : '안녕하세요'},
    {"id" : 2, "text" : '홍길동입니다.'},
    {"id" : 3, "text" : '김철숩니다..!!!!!!!!!!!!!!!!!!!!!! \n안녕하세요'}
  ]

  const [ momos, setMemos ] = useState(memoList);
  const [ idx , setIdx ] = useState(4);

  const renderMemo = ({item}) => {
    return (
      <View style={{padding : 10, borderBottomColor : "#ddd" , borderBottomWidth : 1, flexDirection : 'row'}}>
        <Text style={{marginRight : 10}}>{item.id}</Text>
        <Text>{item.text}</Text>
      </View>
    )
  }

  const addMemo = () => {
    console.log(txt);

    const obj = { "id" : idx, "text" : txt};
    setMemos(prev => [...prev,obj]);
    //글쓰기 모드 변경
    setWriteMode(false);

    setIdx(prev => prev + 1);
    //alert 사용하기
    // Alert.alert(txt);
  }


  useEffect(() => {
    console.log('프로그램시작');
    loadData();
  }, [])


  const saveData = async (value) => {
    try {
      await AsyncStorage.setItem('memoData', value)
      console.log('저장');
    } catch (e) {
      // saving error
    }
  }

  const loadData = async () => {
    try {
      const value = await AsyncStorage.getItem('memoData')
      if(value !== null) {
        // value previously stored
        setTxt(value)
      }
    } catch(e) {
      // error reading value
    }
  }

  if(writeMode === false) {
  return (
    <SafeAreaView style={{flex : 1, backgroundColor : "#9c0",}}>
      <View style={{}}>
        <Text style={{fontSize: 18, padding:15, textAlign: 'center'}}>메모장</Text>
      </View>

    <View style={{flex : 1, backgroundColor : "white", justifyContent :'center', }}>
      {/* <Text>리스트 나올곳</Text> */}
      <View style={{zIndex :10, position : 'absolute', right : 30, bottom : 50, width : 60 , backgroundColor : 'yellow'}}>
        <Button title="글쓰기" onPress={() => setWriteMode(true)}></Button>
      </View>
      {/* <StatusBar style='auto'></StatusBar> */}
    <View style={{flex : 1}}>
      <FlatList data={momos} renderItem={renderMemo} style={{flex : 1}}/>
    </View>
    </View>
    </SafeAreaView>
  );

  //글쓰기 영역
  } else {
  return (
    <View style={{flex : 1, backgroundColor :'#fc0'}}>
    <SafeAreaView style={{flex: 1,  }}>
      {/* <StatusBar style='auto'/> */}
      <View style={{padding : 20, flexDirection : 'row', alignItems : 'center', justifyContent : 'space-between'}}>
        <Button title="글 저장" onPress={() => addMemo()} ></Button>
        {/* <Button title="임시저장" onPress={() => saveData(txt)}></Button> */}
        <Text style={{textAlign : 'center' , fontSize : 18}}>메모장</Text>
        {/* <Button title="불러오기" onPress={() => loadData()}></Button> */}
      </View>
      <View style={{backgroundColor : '#eeeeee', flex :1, padding : 20}}>
        <TextInput
        value={txt}
        onChangeText={ txt => setTxt(txt)}
        // 줄바꿈 가능
        multiline

        ></TextInput>
      </View>
      <View style={{position : 'absolute', right : 30, bottom : 50, width : 80 , backgroundColor : 'yellow'}}>
        <Button title="리스트보기" onPress={() => setWriteMode(false)}></Button>
      </View>
    </SafeAreaView>
    </View>
  );
  }
}
리액트와 사용방법이 거의 동일하지만 은근 다른 점도 있는 것 같다.
하나하나 부딪혀가면서 알아야 더 많은 것을 익숙해질 수 있을 것 같다.
'개발 > ReactNative' 카테고리의 다른 글
| [ReactNative] 공식 문서 보기 (1) - 기초 (0) | 2022.10.24 |
|---|---|
| [ReactNative] expo 메모장 앱만들기 (2) (0) | 2022.10.23 |
| [ReactNative] expo 메모장 앱만들기 (1) (0) | 2022.10.21 |
| [ReactNative] expo 설치하기 (0) | 2022.10.20 |


댓글