[React] Redux-Toolkit 초기 세팅
이전 포스팅은 Redux=Toolkit 템플릿을 이용하여 RTK 구조가 잡혀있는 설치 방법을 포스팅하였다.
이번에는 Redux 공식 문서에 있는 Counter 예제를 따라하면서 구현해 보도록하자
Store 설정 방법 및 Slice 작성방법을 작성하겠다.
1. CRA 설치
우선 자신이 설치하고자 하는 디렉토리로 가서 cmd 창으로 아래와 같이 입력한다.
npx create-react-app [프로젝트명]
2. rtk 모듈, react-redux 설치
설치가 완료되면 해당 디렉토리 ([프로젝트명]) 으로 이동하여 rtk 패키지와 react-redux를 설치해준다.
npm install @reduxjs/toolkit react-redux
3. Store 생성
VSCode로 프로젝트를 열어 src/app/store.js 폴더와 파일을 만들어주고, 아래와 같이 코드를 작성해준다.
store.js
import { configureStore } from '@reduxjs/toolkit';

export default configureStore({
  reducer: {}
})
일단 비어있는 redux 저장소를 생성한 것이다.
configureStore는 기존 redux 에서 createStore를 추상화 한 것으로, 기존 보다 설정을 간편하게 할 수 있다.
설정했을 시 redux-thunk와 devtool을 지원해준다.
4. index.js 작성
src/index.js를 다음과 같이 작성해준다.
index.js
import React from 'react'
import ReactDOM from 'react-dom'
import './index.css'
import App from './App'
import store from './app/store'
import { Provider } from 'react-redux'

ReactDOM.render(
  <Provider store={store}>
    <App />
  </Provider>,
  document.getElementById('root')
)
<provider> 태그는 redux store에 연결할 수 있게 해준다.
5. counterSlice.js 작성
/src/features/counter/counterSlice.js 폴더와 파일을 만들고 다음과 같이 작성해준다.
counterSlice.js
import { createSlice } from '@reduxjs/toolkit'

export const counterSlice = createSlice({
  name: 'counter',
  initialState: {
    value: 0
  },
  reducers: {
    increment: state => {
      // Redux Toolkit allows us to write "mutating" logic in reducers. It
      // doesn't actually mutate the state because it uses the Immer library,
      // which detects changes to a "draft state" and produces a brand new
      // immutable state based off those changes
      state.value += 1
    },
    decrement: state => {
      state.value -= 1
    },
    incrementByAmount: (state, action) => {
      state.value += action.payload
    }
  }
})

// Action creators are generated for each case reducer function
export const { increment, decrement, incrementByAmount } = counterSlice.actions

export default counterSlice.reducer
createSlice를 사용하면 객체 내 reducer를 기반으로 액션 타입 문자열과 액션 생성자 함수를 자동으로 생성해준다.
immer inside 라이브러리가 내장되어있어 데이터를 변경 시켜줄 수 있다.
5. store.js 에 slice 추가
app/store.js 를 다음과 같이 변경해준다.
store.js
import { configureStore } from '@reduxjs/toolkit'
import counterReducer from '../features/counter/counterSlice'

export default configureStore({
  reducer: {
    counter: counterReducer
  }
})
store.js 에 counterSlice를 설정함으로써 상태에 대한 업데이트를 처리하도록 연동한다.
6. Counter.js 작성
src/features/counter/Counter.js 파일을 생성하고 다음과 같이 작성해준다.
import React from 'react'
import { useSelector, useDispatch } from 'react-redux'
import { decrement, increment } from './counterSlice'
// import styles from './Counter.module.css'

export function Counter() {
  const count = useSelector(state => state.counter.value)
  const dispatch = useDispatch()

  return (
    <div>
      <div>
        <button
          aria-label="Increment value"
          onClick={() => dispatch(increment())}
        >
          Increment
        </button>
        <span>{count}</span>
        <button
          aria-label="Decrement value"
          onClick={() => dispatch(decrement())}
        >
          Decrement
        </button>
      </div>
    </div>
  )
}
useSelector 는 말그대로 store에 등록한 데이터를 가져다 쓸 수 있는 함수이다.
useDispatch 는 액션 함수 현재는 counterSlice에 등록되어있는 액션함수들을 실행 시키는 함수이다.
7. App.js 에 Counter.js import
src/App.js 를 다음과 같이 작성한다.
Counter.js 를 import 시켜준다.
import logo from './logo.svg';
import './App.css';
//counter import
import { Counter } from './features/counter/Counter';

function App() {
  return (
    <div className="App">
      <header className="App-header">
        <img src={logo} className="App-logo" alt="logo" />
        {/* counter import */}
        <Counter />
        <p>
          Edit <code>src/App.js</code> and save to reload.
        </p>
        <a
          className="App-link"
          href="https://reactjs.org"
          target="_blank"
          rel="noopener noreferrer"
        >
          Learn React
        </a>
      </header>
    </div>
  );
}

export default App;
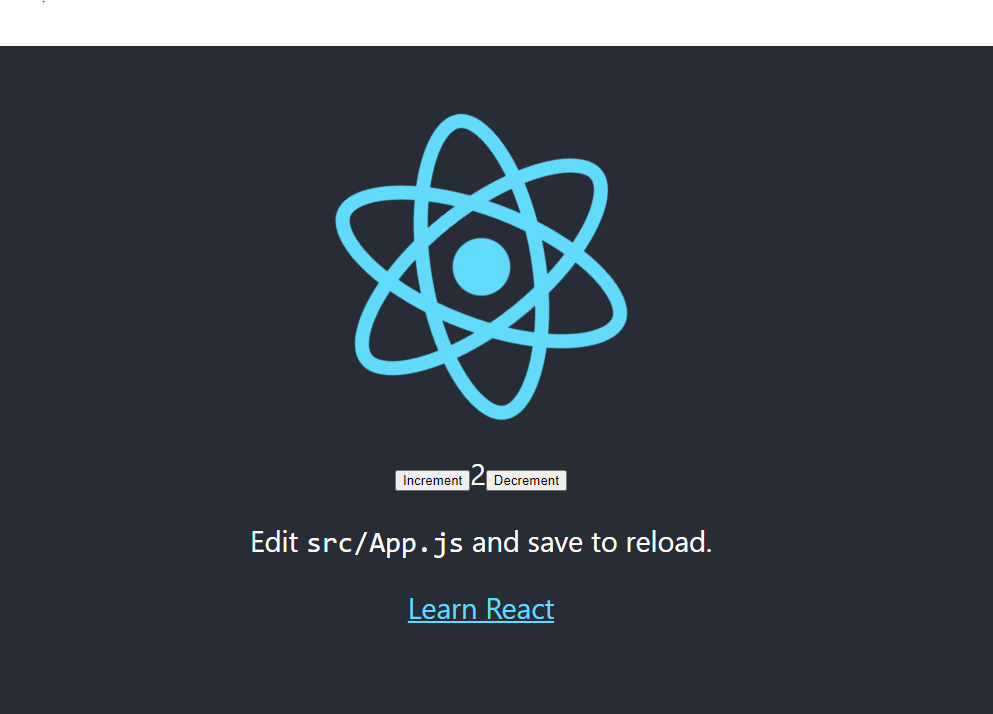
8. 실행
npm start 로 실행시켜주면 다음과같이 counter가 변경되는 모습을 확인 할 수 있다.
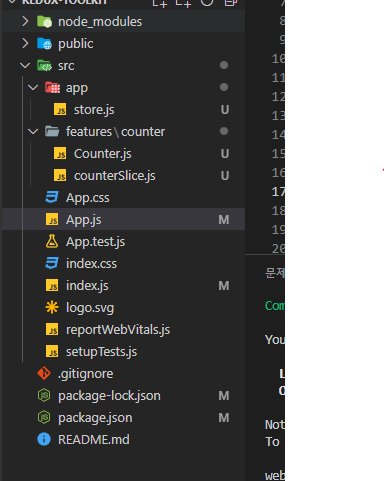
전체적인 프로젝트 구조
RTK를 간단한 Counter 예제로 만들어 봤다.
각 함수의 특징과 사용법 등도 포스팅하고
다음번엔 미들웨어 사용이나, api 연동 등을 포스팅 해야겠다.
도움이 된글
- https://ko.redux.js.org/tutorials/quick-start
'개발 > React' 카테고리의 다른 글
| [React] 디바운스(Debounce), 쓰로틀(Throttle) (0) | 2023.03.19 |
|---|---|
| Next + RTK + Typescript 개발 환경 설정하기 (0) | 2022.11.18 |
| [RTK] RTK-Query? (0) | 2022.11.05 |
| [React] Redux-Toolkit 대표적인 API 알아보기 (0) | 2022.10.04 |
| 리액트 가상 DOM(React Virtual Dom) (0) | 2022.09.28 |


댓글